
Your garage floor is more than just a place to park your car. It’s often subjected to harsh conditions, from oil stains to spills, heavy foot traffic, and the weight of machinery. As a result, it’s crucial to maintain the floor’s durability, functionality, and appearance. One way to do this is by applying epoxy garage floor coating. Not only does it improve the aesthetic of your garage, but it also provides long-lasting protection. If you’re wondering how to coat a garage floor epoxy style, you’ve come to the right place! Learning how to coat a garage floor epoxy correctly ensures a durable and long-lasting finish that will protect your garage from spills, stains, and wear for years to come.
In this step-by-step DIY guide, we’ll show you how to apply an epoxy garage floor coating that provides an attractive and durable finish for your garage floor. If you’re based in Bristol, RI, and are considering epoxy for your garage floor, Garage Floor Coatings has the tools, experience, and services to make the process seamless. Keep reading for everything you need to know about the benefits of epoxy, the process, and tips for the best results.
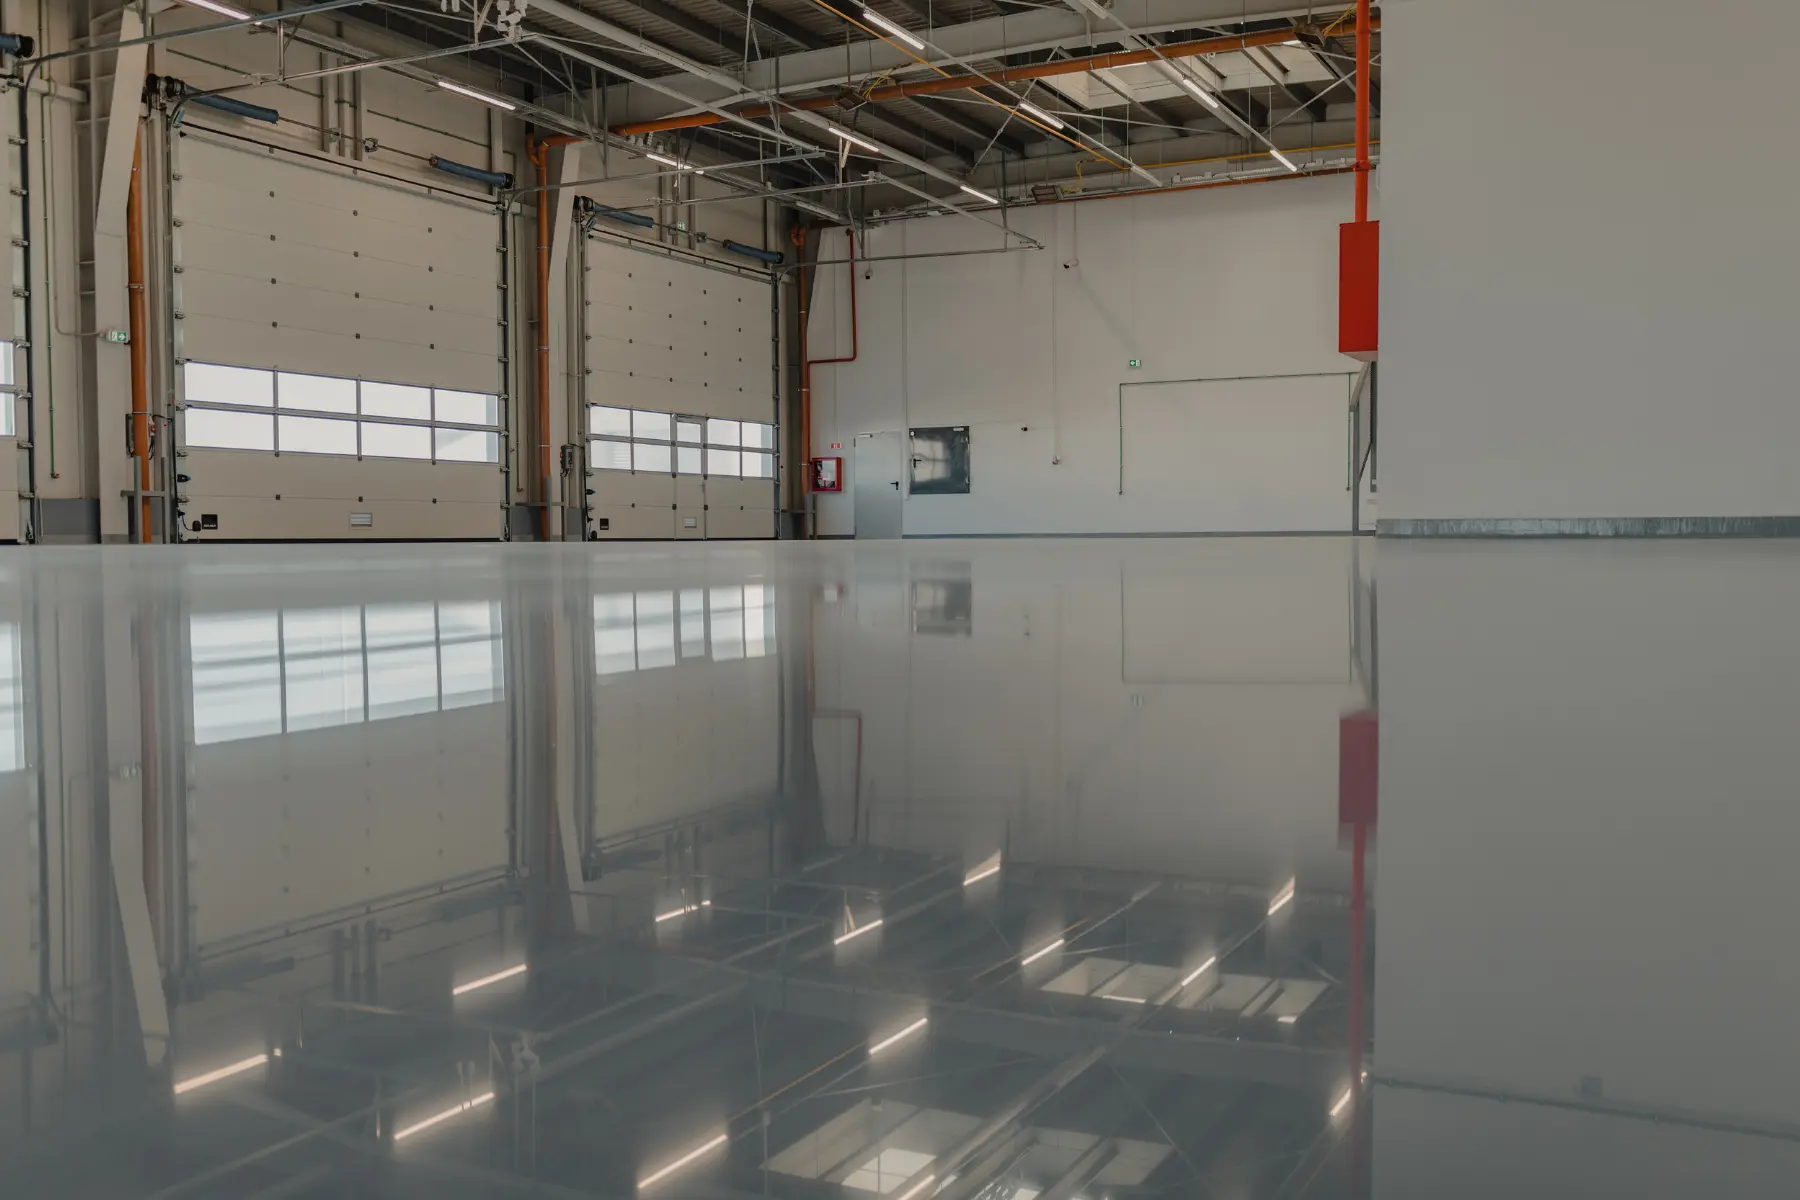
What is Epoxy Garage Floor Coating?
Epoxy garage floor coating is a popular solution for homeowners who want to protect and improve the appearance of their garage floors. It’s a type of resin that, when applied correctly, creates a durable, shiny surface that resists staining, wear, and tear. This coating is made of two components: a resin and a hardener. When mixed, they form a chemical bond that hardens into a tough and resilient surface.
But why should you choose epoxy over other types of coatings? Epoxy is widely considered the best coating for a garage floor because of its strength, resistance to chemicals, and ability to withstand high traffic and heavy-duty usage. It’s the ideal solution for those who want long-lasting protection and a glossy finish.
How to Coat Garage Floor Epoxy: The Step-by-Step Guide
Now that you know the benefits of epoxy, let’s dive into the steps on how to apply epoxy garage floor coating. While you can always hire a professional for garage floor epoxy installation, this guide will walk you through the process if you want to take the DIY approach.
Step 1: Prepare the Garage Floor
The first step in the process is preparing your garage floor. Without proper preparation, the epoxy may not adhere correctly, leading to peeling or cracking over time.
Cleaning
Start by thoroughly cleaning your garage floor. Sweep the surface to remove any dust, dirt, or debris. Next, use a degreaser to remove any oil stains or spills that might interfere with the adhesion of the epoxy. It’s essential to ensure the surface is completely clean before proceeding to the next step.
Repairing Cracks
Examine the floor for any cracks or holes. If you find any, repair them using a concrete filler or patching compound. Use a putty knife to smooth the compound and let it dry completely before moving forward.
Etching the Surface
To create the right surface texture for the epoxy to adhere to, you need to etch the concrete. You can do this using an etching solution, which you can find at most hardware stores, or you can use a concrete grinder. Make sure to follow the manufacturer’s instructions for the etching solution and wear safety gear to protect yourself.
Step 2: Mixing the Epoxy
Once the surface is prepared, it’s time to mix the epoxy resin and hardener. Most epoxy kits will come with clear instructions on how to combine the two components. Be sure to follow the recommended mixing ratios to ensure the correct chemical reaction takes place.
Use a paint stirrer or a slow-speed mixer to blend the two parts of the epoxy. Stir thoroughly for at least two minutes to make sure the mixture is uniform.
Step 3: Applying the Epoxy
Now comes the fun part: applying the epoxy! Using a paint roller with an extension handle, start applying the epoxy from one corner of the garage floor and work your way out. Use long, even strokes to ensure the epoxy is evenly spread across the floor.
Start in the farthest corner to avoid walking on the freshly coated floor. As you apply the epoxy, be mindful of any bubbles or streaks. If you notice any, smooth them out with the roller. You may need to apply a second coat for even coverage.
Step 4: Allow for Curing Time
Once the epoxy has been applied, allow it to cure according to the manufacturer’s instructions. This typically takes around 24 hours for the coating to dry to the touch and 72 hours for it to fully cure. During this time, avoid walking or driving on the floor to ensure the best results.
Step 5: Apply a Topcoat (Optional)
For added durability and a glossy finish, you can apply a topcoat. This is an optional step, but highly recommended if you want additional protection against scratches, stains, and moisture.
Tips for a Successful DIY Epoxy Garage Floor Coating
- Temperature Matters: Apply epoxy when the temperature is between 50°F and 90°F. Extreme temperatures can affect the curing process and lead to poor results.
- Work in Sections: It’s easier to apply the epoxy in small sections rather than trying to do the entire floor at once.
- Don’t Rush: Make sure you give each coat enough time to dry before applying another. Rushing the process can lead to poor adhesion.
- Protect Your Workspace: Wear gloves, goggles, and long sleeves to protect your skin from the chemicals in the epoxy.
- Use Quality Epoxy: Not all epoxy coatings are created equal. For the best results, choose a high-quality epoxy that is designed specifically for garage floors.
What is the Best Coating for a Garage Floor?
If you’re wondering what is the best coating for a garage floor, the answer is epoxy. Not only does it offer superior durability, but it also gives your garage a sleek, modern look. It’s resistant to oil, grease, stains, and chemicals, making it ideal for garages used for workspaces or car maintenance.
Other options, like paint or sealers, may not provide the same level of protection or longevity. Epoxy is a superior choice for anyone looking for an affordable yet durable solution that stands the test of time.
Do It Yourself Epoxy Garage Floor Coating: Why You Should Consider It
Applying an epoxy garage floor coating yourself is a rewarding and cost-effective option. While it does require time, patience, and the right tools, it’s a project that most homeowners can take on. By following this step-by-step guide, you can achieve a professional-looking finish without the high cost of hiring a contractor.
However, if the idea of tackling a DIY project seems overwhelming, there’s no shame in hiring professionals. Garage Floor Coatings in Bristol, RI, has years of experience and the expertise to ensure your garage floor is coated perfectly every time.
Need Help with Epoxy Garage Floor Coating? Call Garage Floor Coatings Today!
Epoxy coating your garage floor is a great investment, and when done properly, it can last for years. Whether you’re taking the DIY approach or prefer to have professionals handle it, Garage Floor Coatings is here to help. For all your garage floor coating needs in Bristol, RI, contact us at (401) 662-9117. We’re committed to providing you with top-notch service and an amazing garage floor that will withstand the test of time. Now that you know how to coat a garage floor with epoxy, you can confidently tackle the project or reach out to us at Garage Floor Coatings for professional assistance in Bristol, RI.
Applying epoxy garage floor coatings can be a rewarding DIY project, but it’s crucial to take your time and follow each step carefully. If you’re unsure about doing it yourself or would rather leave the job to the professionals, Garage Floor Coatings in Bristol, RI, can handle everything from start to finish. Don’t hesitate to call (401) 662-9117 today!